How can we help you?
- What is an agreement?
- How to create an agreement
- Including a cancellation policy
- How to choose services and rates
- How clients accept, view and terminate agreements
- How support workers view, edit and terminate agreements
- What does a client do if they disagree with an agreement?
- What if a client can’t accept an agreement?
- What happens if an agreement is cancelled or terminated?
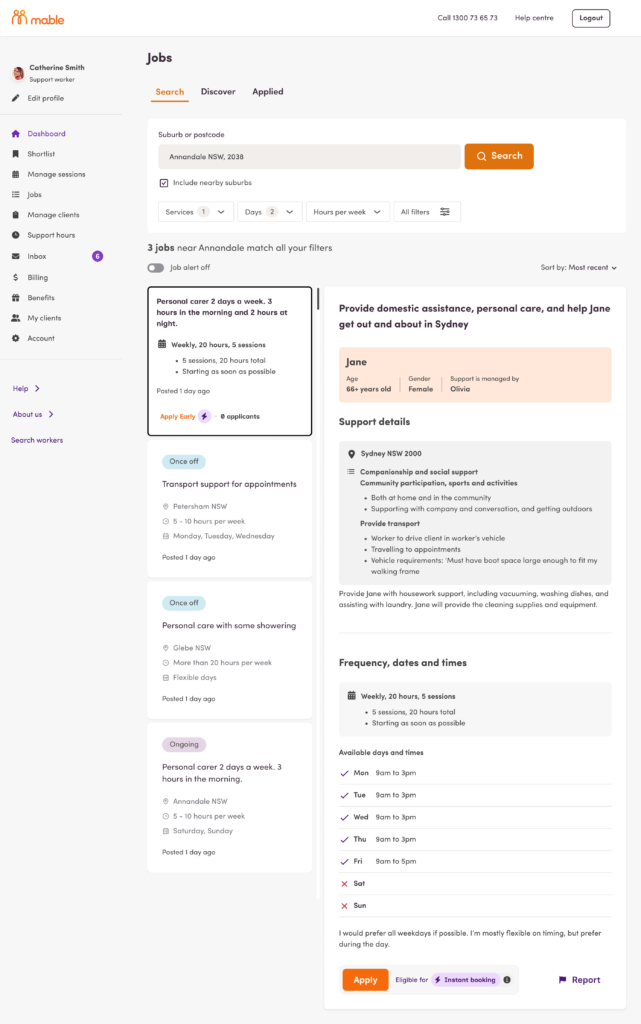
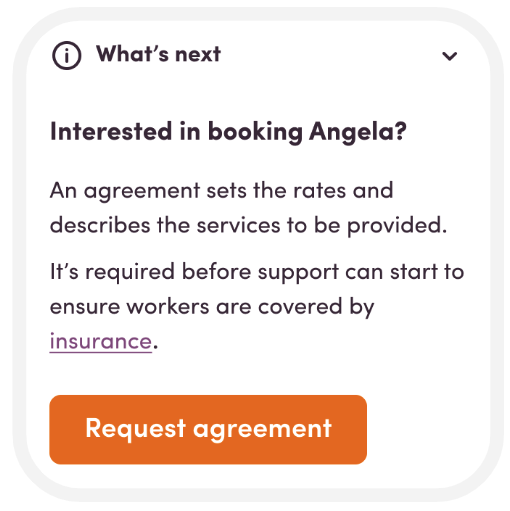
What is an agreement?
When a client and a support worker discuss the job details, they will discuss what services will be provided, a schedule, and rates. Once these details have been settled, the support worker will send the client an agreement outlining all the details they discussed and agreed on. The agreement created is between the client and the support worker only.
An agreement on Mable typically includes:
- Where the support services will occur
- When the services will occur (time, days)
- What types of support you will be receiving
- The agreed hourly or flat rates for the support services, including rates for public holidays
- What kind of activities the support worker will be helping you complete
- Terms about minimum hours per support session, cancellation policy, policy on finishing early or late, etc.
- Terms on when the agreement may be changed, updated or terminated and what happens in each case
- Terms related to feedback and complaints and how they should be handled.
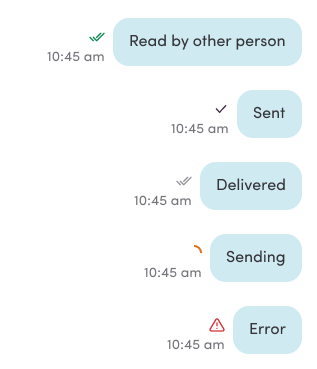
Once a support worker offers an agreement, the client must accept it before the support worker can begin working. The agreement will remain Pending in a support worker’s account until the client accepts it.
If an agreement has not been accepted, the support worker is not covered by insurance for any work they do.
How to create an agreement
Mable provides support workers on our platform with open fields to complete which are designed to capture all the details that they have decided on with their client. Mabel does not provide set clauses or template agreements, because it is up to the client and support worker to decide on the agreement terms. They then send it to the client for review and approval.
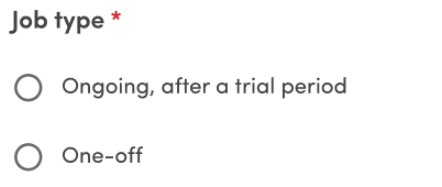
The fields marked with an asterisk are mandatory to fill in. This is because they make up the minimum information that’s required to form an agreement. Other sections are optional, but we recommend including all relevant information to make your agreement as detailed as possible. Being specific will help avoid misunderstandings.
Please note there are different instructions depending on whether you are logged into your account on a browser (for example, Google Chrome or Safari) or the mobile app.
Browser instructions:
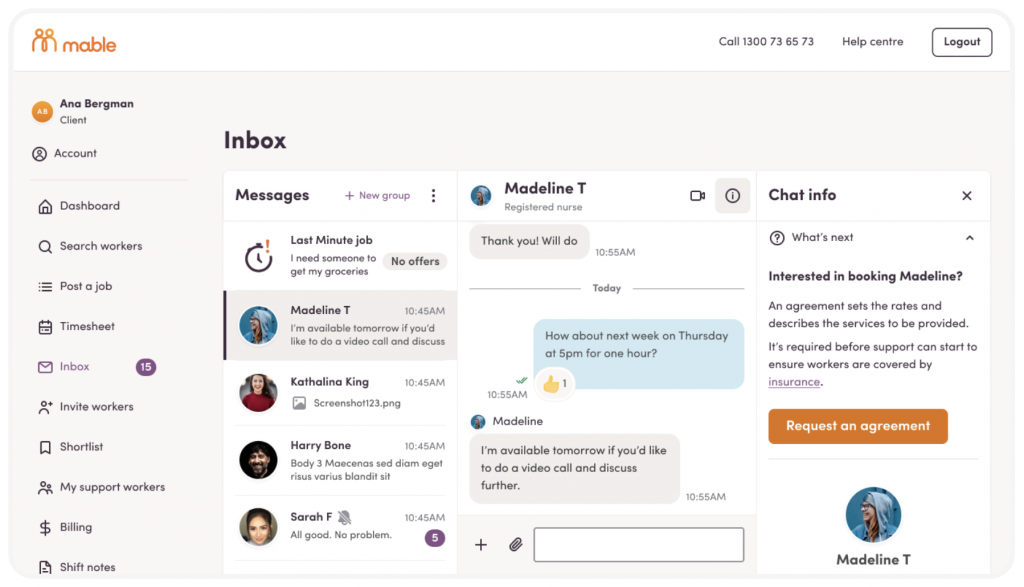
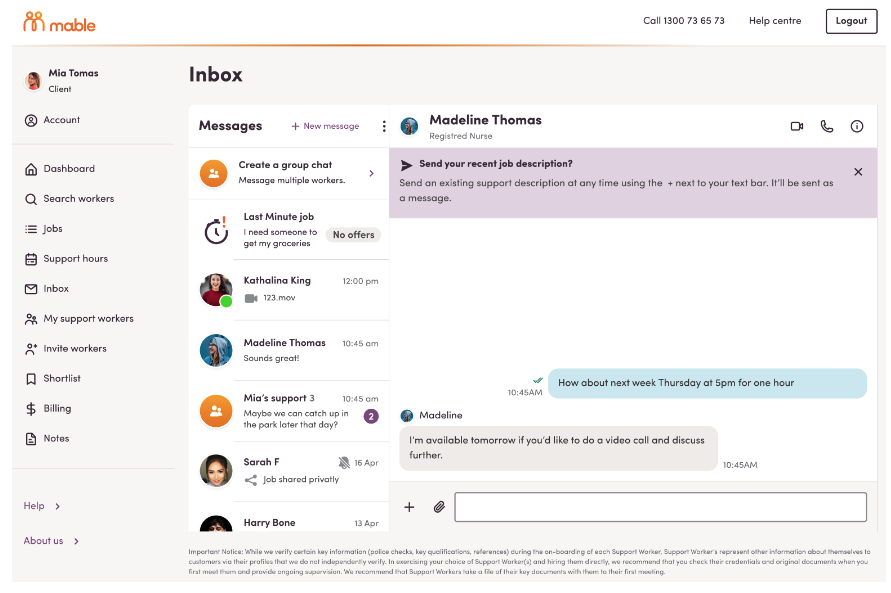
- Select Inbox from the menu options on the left
- Select the chat with the relevant client
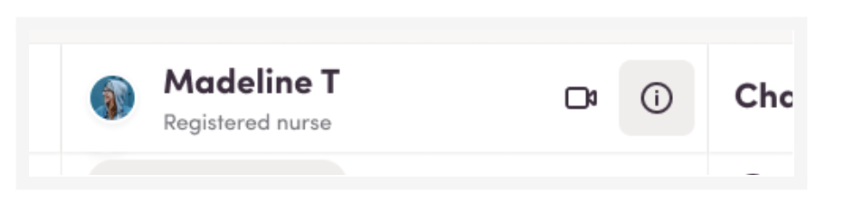
- Select the i icon ⓘ in the top right-hand corner
- Select Offer an agreement
- Select the relevant job
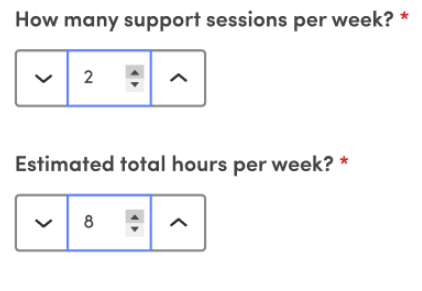
- Fill in the fields
- Select Send agreement
Mobile app instructions:
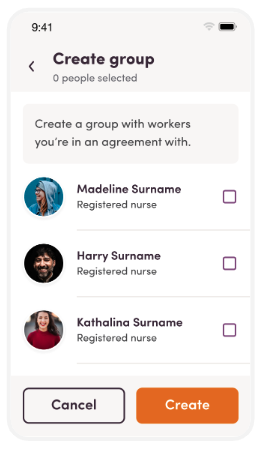
- Select Messages
- Select the chat with the relevant client
- Select the i icon ⓘ in the top right-hand corner
- Select Create agreement
- Select the relevant job
- Fill in the fields (Rates may pre-populate, but you can make changes as required to meet the one you have negotiated with your client)
- Select Send agreement
Including a cancellation policy
A cancellation policy is important because it sets expectations regarding what is required should either party need to cancel a support session.
Both clients and support workers can insert cancellation policies into an agreement, but both parties must agree.
A good cancellation policy will set expectations for both timely and last-minute cancellations. It should outline how much notice is expected, what to do in circumstances where this isn’t possible, and any rates that may be charged if a cancellation were to occur.
Don’t forget, the amount of notice that’s required to avoid cancellation fees should be reasonable, fair, and comply with regulations. For example, an older Australian under Support at Home cannot be charged cancellation fees where they provide more than 2 business days notice.
Cancellation policies can also cover how cancellation works in any emergency situation, where it is not possible to provide anything but short notice.
For NDIS-funded sessions, refer to the NDIS Short Notice Cancellation guidelines in the NDIS Pricing Arrangements and Price Limits.
Here are some examples of how a cancellation policy can be set out on Mable.*
Example 1
“If you need to cancel a session, contact me by messaging me on [phone number/Mable chat] as soon as possible. If you provide less than 24 hours’ notice, support hours will be submitted for the full cost of the cancelled session.
If I need to cancel a session due to personal illness or other unexpected circumstances, I’ll contact you by messaging you on [phone number/Mable chat] as soon as possible. I will give you 2 weeks’ notice of any planned leave. It is your responsibility to find alternative support options if I am unavailable to attend a support session.”
Example 2
“If for any reason you wish to cancel your scheduled support session, you are advised to give me at least 48 hours’ notice. Any cancellations made within 48 hours of the scheduled support will incur the full session fee.”
Note: If you’re a client receiving aged care services and need to cancel a session within 48 hours, your Support Worker may be entitled to charge the full amount for the booking. To avoid surprises, we recommend you make sure the cancellation terms are clearly agreed and documented in your service agreement.
How to choose services and rates
Rate types and service groups are selected from a list during the process of creating an agreement.
Support workers fill in the rates and services relevant for the session(s).
If the client has specified services in the job, these will be pre-populated on the agreement, but if further services have been discussed and agreed on, they can be added. However, the support worker can only select from services they have been approved to provide.
Service groups give support workers the option of grouping services with the same rates in agreements. If they charge different rates for different services, they can create multiple service groups for the same agreement.
Add service groups and rates:
(Note: you cannot amend pending agreements on the mobile app.)
- Create an agreement or amend an existing agreement
- Select Edit service(s) under Services and rates
- Select the service(s) you plan to provide that share the same rate
- Select Confirm
- Fill in the rate fields, or Delete any that are not relevant
- If you want to add a weekday evening rate or weekday overnight rate, select Add another rate, select the relevant rate, then add the rate amount
- If you are providing other services at a different rate, select Add another service group
- Follow the same steps as above
- Continue to add service groups until all of your services and rates are listed
- Finish filling in your agreement and Send agreement/Send updated agreement
When selecting rates, the support worker’s indicative rates will pre-populate (based on what the support worker has set on their profile), but they can change them. They should set the rate they agreed on with their client.
They should also consider the NDIS Price Limits if they’re providing support to an NDIS client.
Learn more:
How clients accept, view and terminate agreements
Please note there are different instructions depending on whether you are logged into your account on a browser (for example, Google Chrome or Safari) or the mobile app.
View and accept an agreement
Browser instructions:
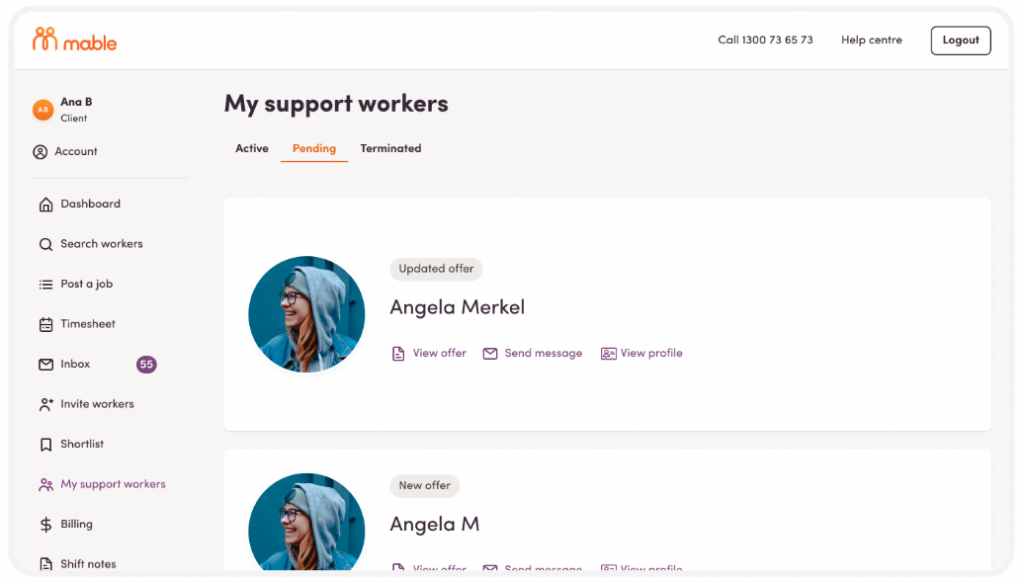
- Select My support workers
- Select Pending
- Select View agreement under the relevant support worker
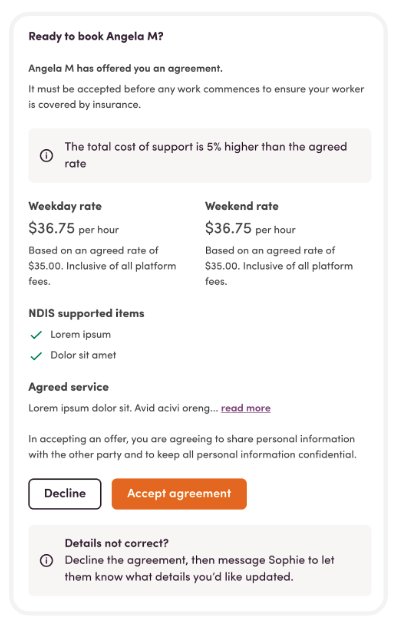
- Review the details
- At the bottom of this screen, you can either message the support worker, accept the agreement, or decline the agreement
Mobile app instructions:
- Select Workers
- Select Agreements
- Select the support worker with a Pending label beneath their name
- Review the details
- At the bottom of this screen, you can either message the support worker, accept the agreement, or decline the agreement
View or terminate an agreement you’ve already accepted
Browser instructions:
- Select My support workers
- Make sure you're in the Active tab
- Select View agreement below the relevant support worker
- Scroll down and select the arrow beside Manage agreement
- Select Terminate agreement
- Select a reason for termination and then select Terminate agreement
Mobile app instructions:
- Select Workers
- Select Agreements
- Select the relevant support worker's name
- Review the agreement details
- If you want to terminate the agreement, scroll to the bottom and select Terminate
How support workers view, edit and terminate agreements
View, edit or terminate an active agreement
Browser instructions:
- Select My clients in the left-hand menu bar
- Select Active
- Select View agreement below the relevant client
- Scroll down to the bottom of the page and select the arrow to the right of Manage agreement
- Select Update agreement or Terminate agreement
- Make the required changes
- Select Save and send to [client's name] OR Terminate agreement depending on whether you're amending or terminating.
Mobile app instructions:
- Select More in the bottom right-hand corner
- Select My clients
- Select Active
- Select View agreement below the relevant client
- You can now view the agreement
- If you want to amend or terminate it, scroll down and select the arrow next to Manage agreement
- Select Update agreement or Terminate
- If you are terminating the agreement, select a reason why and then select Terminate agreement
- If you are updating the agreement, make the relevant changes and then select Send updated agreement
View, edit or terminate a pending agreement
Please note a pending agreement can only be terminated via the original mobile app.
Browser instructions:
- Select My clients in the left-hand menu bar
- Select Pending
- Select View offer below the relevant agreement
- Make the required changes
- Select Save and send to [client's name]
Mobile app instructions:
- Select More in the bottom right-hand corner
- Select My clients
- Select Pending
- Select View offer
- You can now view the agreement
- If you want to amend the agreement, make the required changes and select Send updated agreement
- If you don't want to make any amendments, scroll down and select Back and/or Cancel
What does a client do if they disagree with an agreement?
An agreement can be rejected, for example, if the agreed-upon times are incorrect.
If this happens, clients are allowed to reject the agreement. They should contact their support worker first to explain why and discuss fixing the terms of the agreement. The support worker will then send a new agreement with the correct details. Once the client is happy with the agreement, they should accept it, and the support worker can begin working.
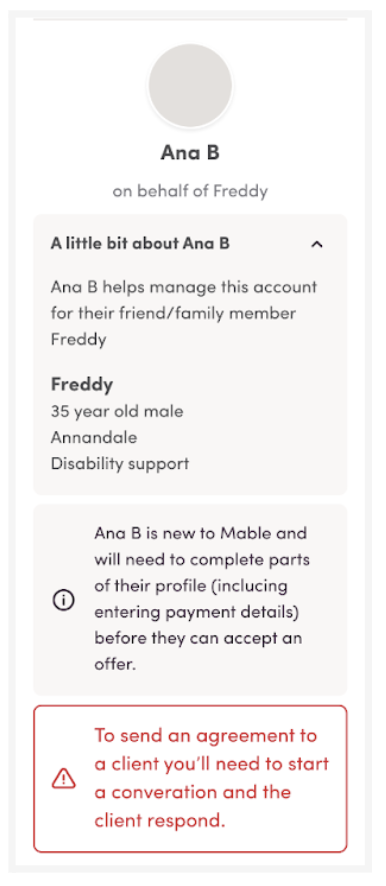
What if a client can't accept an agreement?
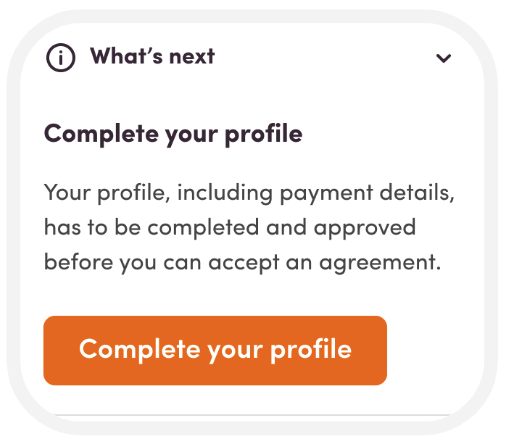
Clients will not be able to accept an agreement until their Mable account is completely set up. This includes filling out emergency contact information and payment details – which need to be verified. This is to protect both clients and support workers.
What happens if an agreement is cancelled or terminated?
If a support worker terminates an agreement or a client cancels an agreement, the booked job cannot proceed.
This means the client will need to find a new support worker if they still want to fill the job. This can be done by searching support worker profiles or posting a new job ad.
When a client views a terminated agreement, they will be presented with the option to Find worker. Selecting this option will create a ready-made job post with pre-populated details from the terminated job, so the client can post a new job ad without starting from scratch.
* The examples provided are illustrative only and are not intended as legal advice or to be used as template clauses. Mable does not prescribe any specific language to use in agreements. Parties using this or similar language are doing so by their choice.